

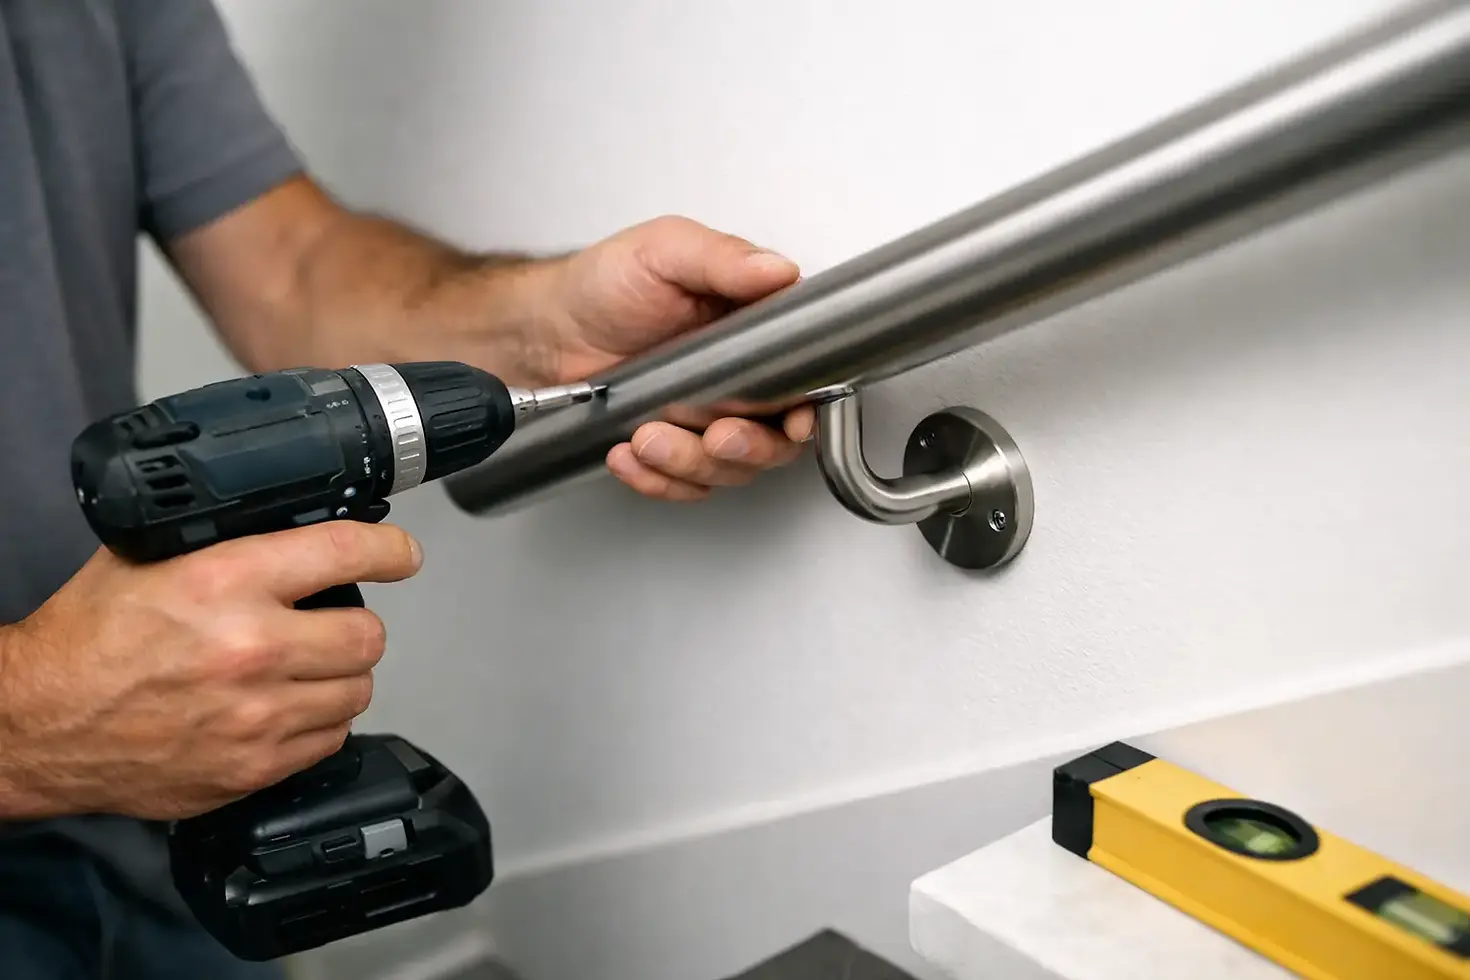
How to Fit a Wall Mounted Handrail Properly
A handrail only does its job when it stays firm under a real load. That means more than choosing a smart-looking tube and screwing a few brackets into the nearest wall. To fit a wall mounted handrail properly, you need a sound fixing background, correctly spaced brackets and a handrail height that suits the stair, ramp or access route.
For homeowners, this is often the finishing detail that makes a staircase or external step safer and more complete. For builders and developers, it is a visible safety item that must be specified, fabricated and installed with far more care than its simple appearance suggests. A well-fitted stainless steel handrail gives clean lines, dependable support and long-term resistance to weather and daily use.
Start with the wall, not the handrail
The wall construction determines the fixing method. A solid brick or concrete wall provides the most straightforward base for a wall-mounted system, provided the masonry is in good condition. Use suitable heavy-duty fixings sized for the bracket plate and the expected loading, rather than ordinary light-duty wall plugs.
Blockwork needs a closer look. Dense concrete block may take a mechanical anchor well, while lightweight or hollow block often requires specialist cavity fixings, resin systems or a structural backing plate. Fixing directly into plasterboard alone is not suitable for a handrail. Locate timber studs or provide solid noggins before the wall is boarded, especially on new-build and refurbishment projects.
External walls create another consideration: the surface finish. Render, cladding and insulation systems can conceal the structural wall behind them. Brackets must pass through the finish and secure into the load-bearing substrate. Simply tightening a bracket onto render can crack the surface and leave the rail unstable. Longer fixings, weatherproof seals and correctly sized stand-offs may be required.
Measure the route before ordering components
Measure the full usable length of the stair flight, landing or ramp rather than estimating from the room dimensions. A handrail can finish level with the first and last riser, but extensions beyond the stair may be appropriate where the layout and access requirements call for them. The ends should be returned towards the wall or fitted with safe end caps where practical, reducing the chance of clothing or bags catching on an open tube.
For domestic stairs, handrail height is commonly set between 900mm and 1000mm above the pitch line of the stairs. On landings, measure from the finished floor level. Ramps, communal areas and commercial settings can involve different requirements, so the final height should be checked against the applicable project drawings, Building Regulations and any accessibility specification.
Do not overlook obstructions. Radiators, door architraves, window reveals, electrical switches and stair strings all affect bracket position and clearance. The rail needs enough space from the wall for a comfortable grip. A cramped gap may look tidy on paper but will not work well in use.
Choose the right material and profile
Satin polished stainless steel is a strong choice for modern homes, commercial entrances, garden steps and shared access routes. It is low-maintenance, suits glass and steel balustrade systems, and retains a crisp architectural appearance. For outdoor installations and high-moisture environments, 316 grade stainless steel is the preferred material because of its higher corrosion resistance.
This matters near the coast, around swimming pools, and on exposed elevations where rainwater and airborne contaminants remain on the metal for longer. Even 316 grade stainless steel benefits from routine cleaning. Tea staining and surface contamination are usually maintenance issues rather than material failure, and regular washing with warm water and a suitable non-abrasive cleaner helps preserve the finish.
Round handrails are generally the easiest profile to grip and remain the most versatile option. A 42.4mm diameter stainless steel tube is widely used for domestic and commercial handrail work, giving a substantial feel without becoming difficult to hold. Square or rectangular rails can achieve a sharper contemporary style, but they need careful consideration where grip comfort is a priority.
How to fit a wall mounted handrail step by step
The installation is simple in principle, but accuracy at the marking stage makes the difference between a professional result and a rail that looks uneven from the bottom of the stairs.
1. Mark the handrail line first. Use a straight edge, laser level or string line to establish the intended height. On stairs, follow the pitch line consistently from the nosings of the treads. Mark bracket positions along this line before drilling anything.
2. Set sensible bracket centres. The exact spacing depends on the handrail material, wall strength, bracket design and the use of the rail. As a practical rule, brackets are normally positioned at regular centres with additional support near ends, bends and joints. Avoid allowing long unsupported spans that can flex when pulled.
3. Drill for the substrate. Use the correct masonry bit and drill depth for brick or concrete, clearing dust from each hole before inserting anchors. For timber, pre-drill pilot holes to prevent splitting. On hollow walls or uncertain backgrounds, stop and confirm the fixing method rather than hoping standard plugs will hold.
4. Fix the brackets firmly and check alignment. Install the first and last bracket, then run a level or straight edge between them before securing the intermediate supports. Keep bracket projections consistent so the handrail sits parallel with the wall and provides an even grip clearance.
5. Cut, assemble and secure the rail. Stainless steel tube should be cut cleanly using suitable equipment, then deburred so there are no sharp edges. Dry-fit elbows, connectors, end caps and wall returns before final tightening. Once the rail is secured, apply firm pressure at several points to check for movement, loose brackets or rattling joints.
Brackets and joints are not minor details
A quality rail can be compromised by poor brackets. Wall brackets must match the handrail diameter, carry the expected load and have a fixing plate large enough for the substrate. Satin stainless steel brackets provide a consistent appearance with a 316 grade rail, particularly where the system is exposed to the weather.
Adjustable brackets can help on uneven walls or where the rail needs to follow an awkward angle. Fixed brackets provide a neater, more rigid result when the wall face is true. Neither is automatically better - the right option depends on site conditions and the required finish.
Joints deserve the same attention. Internal connectors, welded bends and mechanical elbow fittings each have a place. Welded fabrication offers the cleanest continuous appearance on bespoke work, while component-based systems are practical for DIY customers and trade installers who need to assemble rails on site. Make sure joints are properly supported and positioned away from high-stress areas where possible.
When a DIY fit is suitable and when it is not
A straightforward rail onto sound brickwork can be a realistic DIY installation for a competent homeowner with the right tools. Pre-cut stainless steel components, brackets and end caps reduce fabrication work and make the process more predictable. Accurate measuring remains essential, particularly on stairs where a small error is obvious.
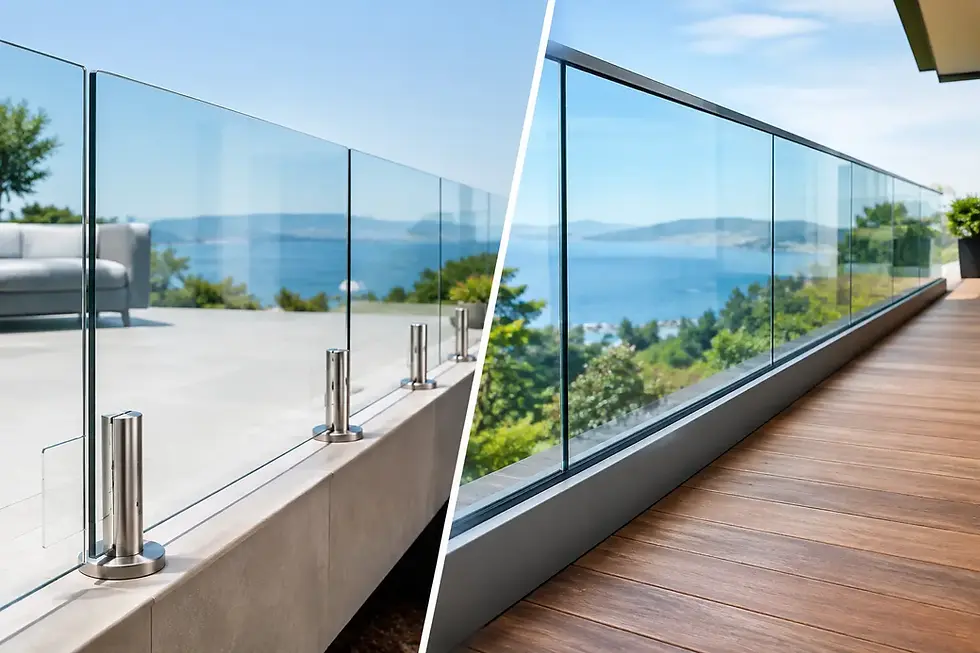
Professional fitting is usually the better choice for complex staircases, long multi-level runs, public access routes, uncertain wall structures and projects that combine a handrail with glass balustrades. It is also sensible where the work must meet a detailed specification or be coordinated with other trades. The cost of correcting misplaced holes in porcelain cladding, stone, finished render or architectural glass can quickly outweigh the saving on installation.
UK Glass Products supplies and fits stainless steel handrail systems nationwide, with bespoke fabrication for unusual layouts as well as practical components for self-install projects. A clear site survey and quote at the beginning avoids guesswork over tube lengths, bracket quantities, fixing backgrounds and finish details.
Before calling the job complete, clean off drilling dust, remove protective film and inspect every fixing from the user’s perspective. The best wall-mounted handrail feels solid without drawing attention to itself - it follows the route cleanly, sits comfortably in the hand and gives every person using the stairs or ramp a reliable point of support.


Comments